I started making my own liquid soap a little over a year ago. There are several bloggers who have posted tutorials on how to make liquid soap, but I originally found the instructions here. If you have been following my blog, I promised in a previous post to share my method for making your own liquid soap. I know it has been awhile, but I never break a promise, so here it is! (Better late than never).
This method for making liquid soap is very similar to my recipe for homemade laundry detergent.
Materials:

1 bar of soap
2 tbsp liquid glycerin (optional)
Cheese grater
Large stockpot
Mixing spoon
Measuring cup
Large funnel
*You will also need something to pour the soap in once it is finished. I happened to save some containers from the 64-oz soap refills that you can buy at the store. Two 64-oz containers are the perfect size for one batch of soap. If you don't have any, you can also use empty gallon milk jugs.

Instructions:
Grate your bar of soap into a bowl. BTW, you can use any brand of soap you want, but I like using the fancy kind. It still costs next to nothing. I love the smell of Yardley Oatmeal and Almond, and it often goes on sale at Walgreens for $0.69.
Meanwhile, pour 20 cups of water into your stockpot and start heating it. It will take some time to grate the soap. It took me about 15-20 minutes to grate an entire bar.

Once the water is heated to a simmer, pour the soap flakes in.

Stir until the soap flakes have dissolved. This shouldn't take long.
Add the glycerin if you are using it.
Remove the stockpot from the stove. At this point, it will not look like soap at all. Don't get discouraged; it will congeal as it cools. With that being said, you will want to let it cool before pouring it into the containers; however, you won't want to let it cool for too long or else it may be too thick to pour.
Let it cool for an hour or two. Then stick a large funnel in your containers and carefully pour the soap in. I highly recommend doing this step in the sink.
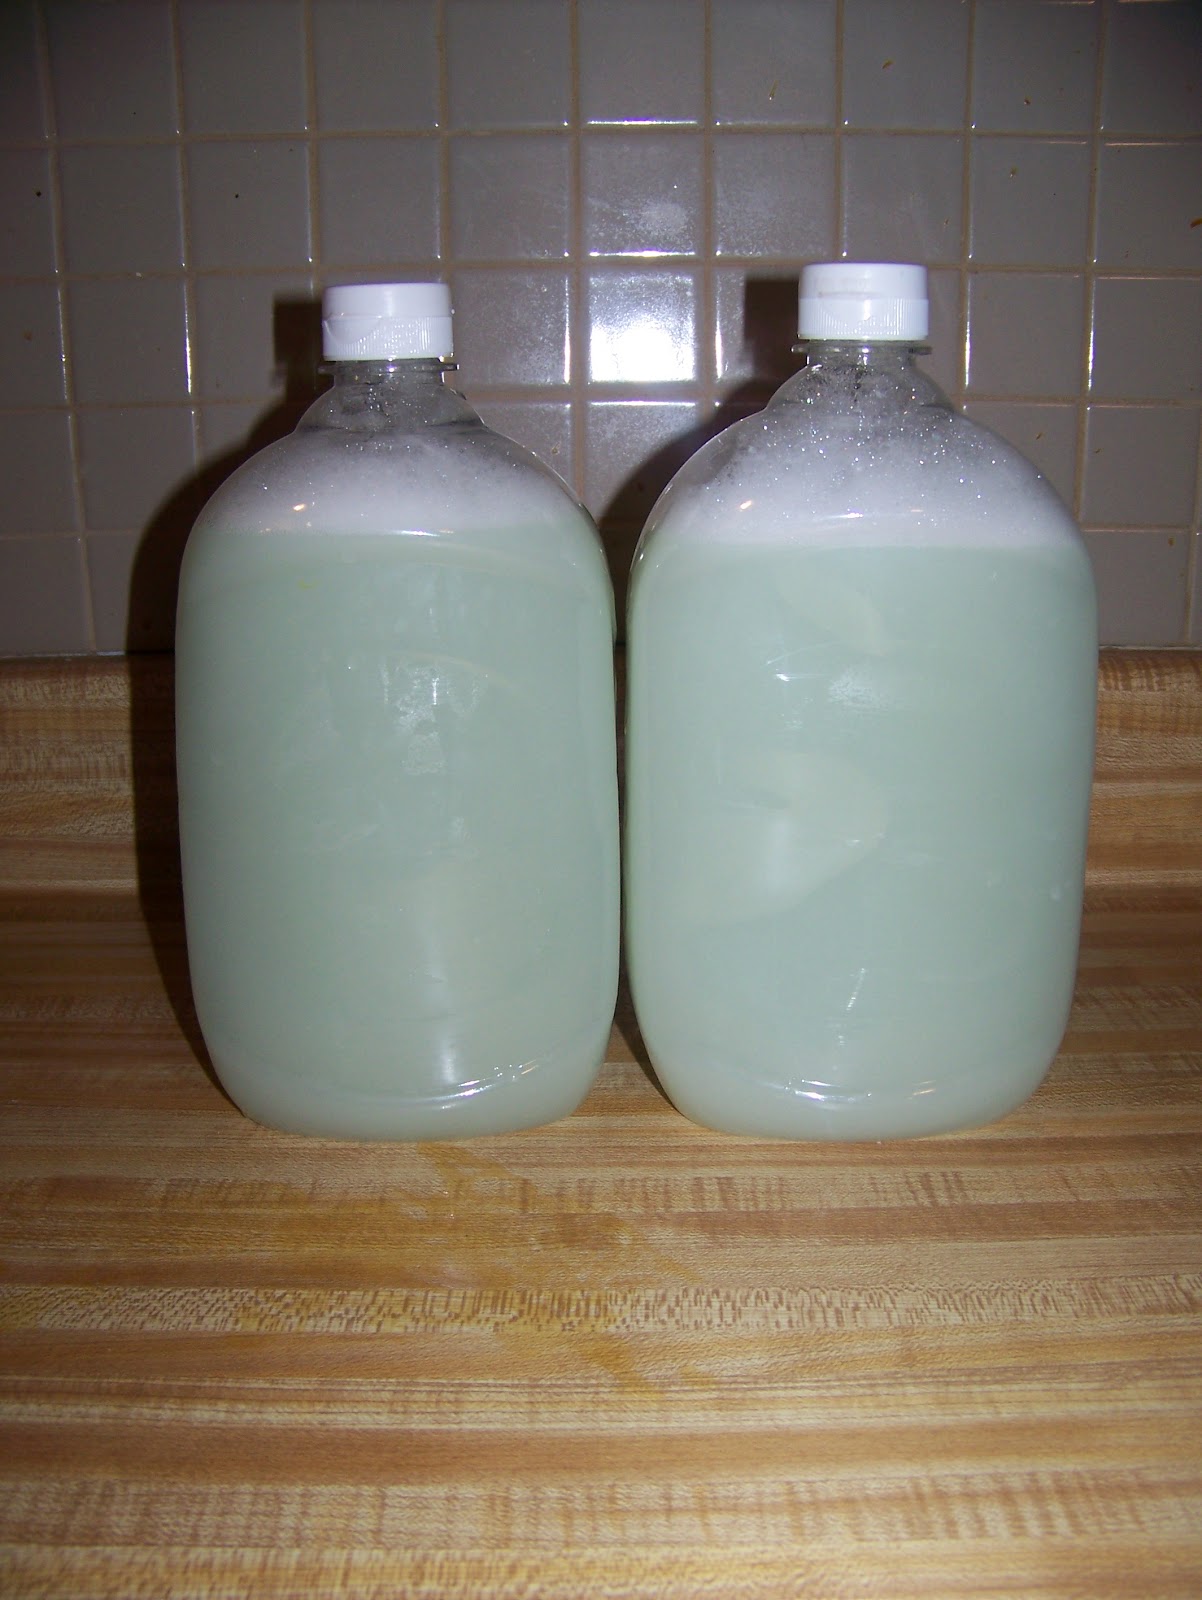
Again, at this point the soap will still be very watery. It takes 24-36 hours for the soap to congeal completely. Another warning I should probably give you: This soap does not have the same consistency as the kind you buy in the store. It's a little... different. I'm not sure how else to describe it, but it works for me. It gets your hands clean, and that's the most important thing.
So here's the breakdown: I spent $0.69 on the bar of soap. I already had the bottle of glycerin, but I think I paid around $2.50 for it. So it cost me under $1 to make 2 64-oz bottles of soap that would have cost $6 each had I bought them in the store. That's a savings of $11. And this will probably last me 6 months, maybe more. BTW... if you are interested in more ways of saving money on hygiene, read about how to make washcloths out of recycled plastic bags here. They work great and cost absolutely nothing.
And on a related issue... do any of you remember my bottomless soap dispensers? Here's an update on that. I posted about the bottomless soap dispenser on May 1st. I mentioned in the post that I probably wouldn't have to refill it for several months. Well, today is July 28th and it just ran out. So if any of you were wondering, the bottomless soap dispenser lasts for almost exactly 3 months (for someone who washes her hands a LOT). That means I will have to refill it 4 times a year instead of once every 2 weeks. I am super happy about that!
This is so easy! I need to try it... there is a soap that I buy that smells so good... it would be perfect for this. Thanks for the idea!
ReplyDeleteThese days life is more about using good tissue dispensers to avoid germ contamination. Thankfully, NovaTech has found appropriate solutions for well- being and safety of all guests, employees and clients. Don’t forget to check our website Novatech today…for all your little safety machines
ReplyDeletetissue dispensers